Bulbs
Flower Basics
Flower Beds & Specialty Gardens
Flower Garden
Garden Furniture
Garden Gnomes
Garden Seeds
Garden Sheds
Garden Statues
Garden Tools & Supplies
Gardening Basics
Green & Organic
Groundcovers & Vines
Growing Annuals
Growing Basil
Growing Beans
Growing Berries
Growing Blueberries
Growing Cactus
Growing Corn
Growing Cotton
Growing Edibles
Growing Flowers
Growing Garlic
Growing Grapes
Growing Grass
Growing Herbs
Growing Jasmine
Growing Mint
Growing Mushrooms
Orchids
Growing Peanuts
Growing Perennials
Growing Plants
Growing Rosemary
Growing Roses
Growing Strawberries
Growing Sunflowers
Growing Thyme
Growing Tomatoes
Growing Tulips
Growing Vegetables
Herb Basics
Herb Garden
Indoor Growing
Landscaping Basics
Landscaping Patios
Landscaping Plants
Landscaping Shrubs
Landscaping Trees
Landscaping Walks & Pathways
Lawn Basics
Lawn Maintenance
Lawn Mowers
Lawn Ornaments
Lawn Planting
Lawn Tools
Outdoor Growing
Overall Landscape Planning
Pests, Weeds & Problems
Plant Basics
Rock Garden
Rose Garden
Shrubs
Soil
Specialty Gardens
Trees
Vegetable Garden
Yard Maintenance
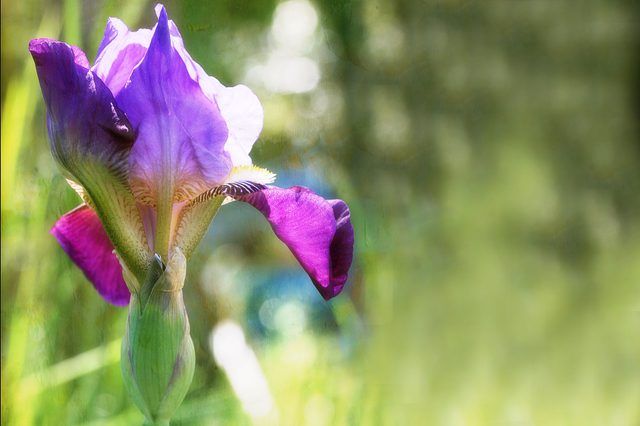
How to Care for Iris Plants After Bloom
How to Care for Iris Plants After Bloom. Iris are truly plant-them-and-forget-them perennials that will almost grow themselves. Once they're planted in a sunny, well-drained spot, leave them alone and let them work their magic. However, a few minutes of extra care at the end of the growing season will ensure that the iris will happily present you...
Iris are truly plant-them-and-forget-them perennials that will almost grow themselves. Once they're planted in a sunny, well-drained spot, leave them alone and let them work their magic. However, a few minutes of extra care at the end of the growing season will ensure that the iris will happily present you with colorful blooms for many more years.
Things You'll Need
Scissors
Organic mulch
Garden fork
Sharp knife
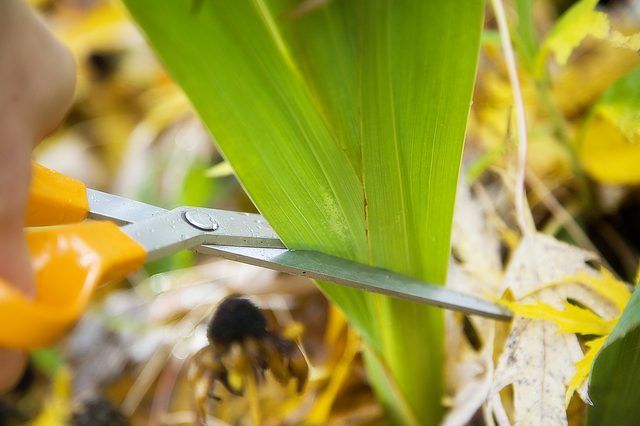
Step 1
Cut off the iris blooms with clean scissors when they fade. Cut the bloom and the stem clear to the ground, but don't remove any of the foliage while it's still green. The iris rhizomes need the energy from the foliage to grow throughout the winter and bloom the following spring.
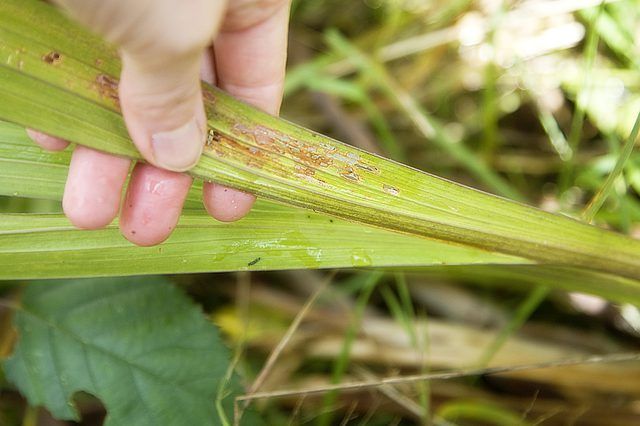
Step 2
Remove the foliage when it dies down and turns yellow. Keep the planting area tidy, and remove any weeds and debris. Iris prefer dry conditions, so remember to water only during very hot, dry periods.
Step 3
Cover the iris plants with a 2- to 3-inch layer or organic mulch if you live in a climate where the temperatures often fall below freezing. Straw, leaves, bark chips or pine needles are all good insulators. Remove the mulch early in the spring so the iris can grow freely.
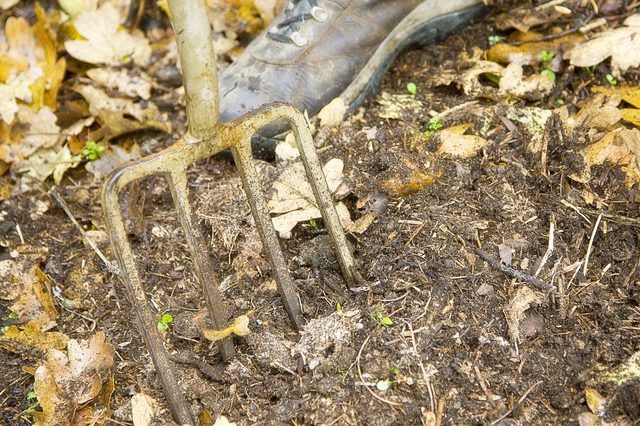
Step 4
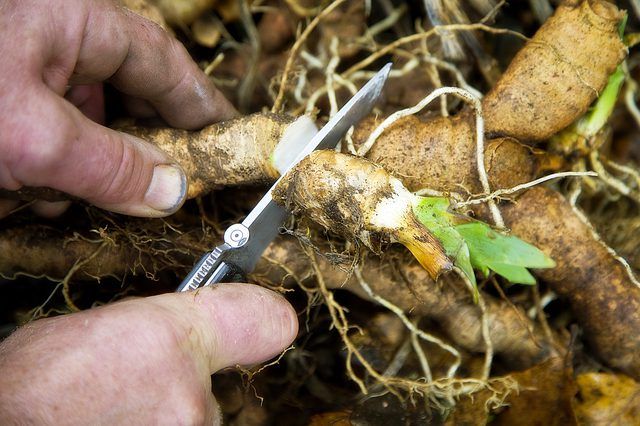
Divide the iris if they've been in place for more than four years, or if the plants are crowded. Dig the iris rhizomes with a garden fork. Wipe a sharp knife with rubbing alcohol and cut off rhizomes that have no buds or leaves. Cut off brown spots, and dispose of the old, dead sections in the middle of the clumps. Soak the divided rhizomes in water until you're ready to replant them.


