Bulbs
Flower Basics
Flower Beds & Specialty Gardens
Flower Garden
Garden Furniture
Garden Gnomes
Garden Seeds
Garden Sheds
Garden Statues
Garden Tools & Supplies
Gardening Basics
Green & Organic
Groundcovers & Vines
Growing Annuals
Growing Basil
Growing Beans
Growing Berries
Growing Blueberries
Growing Cactus
Growing Corn
Growing Cotton
Growing Edibles
Growing Flowers
Growing Garlic
Growing Grapes
Growing Grass
Growing Herbs
Growing Jasmine
Growing Mint
Growing Mushrooms
Orchids
Growing Peanuts
Growing Perennials
Growing Plants
Growing Rosemary
Growing Roses
Growing Strawberries
Growing Sunflowers
Growing Thyme
Growing Tomatoes
Growing Tulips
Growing Vegetables
Herb Basics
Herb Garden
Indoor Growing
Landscaping Basics
Landscaping Patios
Landscaping Plants
Landscaping Shrubs
Landscaping Trees
Landscaping Walks & Pathways
Lawn Basics
Lawn Maintenance
Lawn Mowers
Lawn Ornaments
Lawn Planting
Lawn Tools
Outdoor Growing
Overall Landscape Planning
Pests, Weeds & Problems
Plant Basics
Rock Garden
Rose Garden
Shrubs
Soil
Specialty Gardens
Trees
Vegetable Garden
Yard Maintenance
DIY Paving Stones With Mesh Backing
DIY Paving Stones With Mesh Backing. Stepping stones can be a nice, decorative touch to add to your yard, but at the same time, they can be very functional. You can purchase these stones at home stores, but if you would like to save a little money and create a unique style and pattern, then making them yourself may be the answer. It is a fairly...
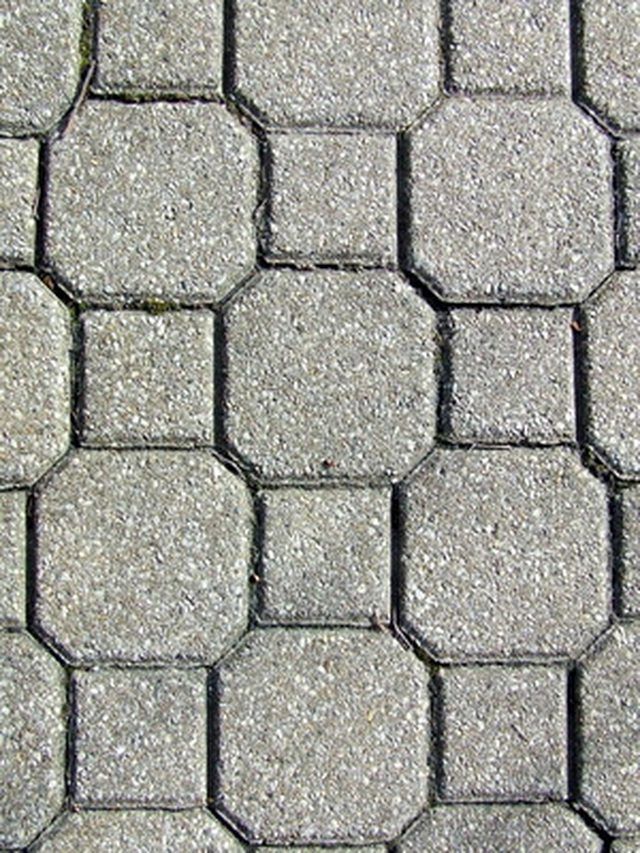
Stepping stones can be a nice, decorative touch to add to your yard, but at the same time, they can be very functional. You can purchase these stones at home stores, but if you would like to save a little money and create a unique style and pattern, then making them yourself may be the answer. It is a fairly simple project that just requires some patience and creativity.
Things You'll Need
Paving stone forms
Quick-setting concrete
Fabric mesh
Large bucket
Trowel shovel
Petroleum jelly
Rubber hammer
Wire brush
Concrete sealer
Paintbrush
Decide what size and shape you want to use for your paving stone. You can use squares, rectangles, circles or just about any shape you can think of.
Purchase the form-shape you want. These can be found at home centers or garden supply stores. You can also build your own form shapes if you choose using 1-by-4-inch boards for the outside of the frame and a piece of plywood for the base.
Using petroleum jelly to coat the sides and base of your paving stone forms. This will keep the concrete from sticking to the form and make for easy removal once the concrete has set up and cured.
Cut a piece of the fabric mesh to fit the bottom of the form. Any type of mesh will work; cloth, metal and fiberglass are all good options. The concrete will be poured on top of the mesh, and when it cures, the mesh will provide strength to the stone.
Mix the quick-setting concrete with water, according to the directions on the package. You will want to make enough to fill the form with a little extra just in case you need it; it is better to have a little too much than not enough.
Pour the concrete into the form and on top of the mesh. Tap the sides of the form with the rubber hammer. This helps eliminate any air voids that may be trapped in the concrete that could compromise the strength of the cured product. Set it aside on a flat area, out of direct sunlight, and leave for at least 24 hours.
Remove the stones by turning the form upside down on the ground and tapping with the rubber hammer. The stone should slip right out.
Clean the stone with a wire brush to remove any loose pieces. Paint on the concrete sealer and set it aside to dry. If you do not seal the concrete, water will penetrate the stone and break it up over time. After 24 hours, the stone should be ready to be put in place.


