Bulbs
Flower Basics
Flower Beds & Specialty Gardens
Flower Garden
Garden Furniture
Garden Gnomes
Garden Seeds
Garden Sheds
Garden Statues
Garden Tools & Supplies
Gardening Basics
Green & Organic
Groundcovers & Vines
Growing Annuals
Growing Basil
Growing Beans
Growing Berries
Growing Blueberries
Growing Cactus
Growing Corn
Growing Cotton
Growing Edibles
Growing Flowers
Growing Garlic
Growing Grapes
Growing Grass
Growing Herbs
Growing Jasmine
Growing Mint
Growing Mushrooms
Orchids
Growing Peanuts
Growing Perennials
Growing Plants
Growing Rosemary
Growing Roses
Growing Strawberries
Growing Sunflowers
Growing Thyme
Growing Tomatoes
Growing Tulips
Growing Vegetables
Herb Basics
Herb Garden
Indoor Growing
Landscaping Basics
Landscaping Patios
Landscaping Plants
Landscaping Shrubs
Landscaping Trees
Landscaping Walks & Pathways
Lawn Basics
Lawn Maintenance
Lawn Mowers
Lawn Ornaments
Lawn Planting
Lawn Tools
Outdoor Growing
Overall Landscape Planning
Pests, Weeds & Problems
Plant Basics
Rock Garden
Rose Garden
Shrubs
Soil
Specialty Gardens
Trees
Vegetable Garden
Yard Maintenance
How to Build a Path on a Slope
How to Build a Path on a Slope. Pathways add a welcoming element to gardens; they invite us in by offering an easy way to meander through and enjoy the scenery. They are functional as well; gardeners use pathways for wheelbarrows and other equipment. Build a path on a slope that has good drainage and footing that isn't slippery. For extremely steep...
Pathways add a welcoming element to gardens; they invite us in by offering an easy way to meander through and enjoy the scenery. They are functional as well; gardeners use pathways for wheelbarrows and other equipment. Build a path on a slope that has good drainage and footing that isn't slippery. For extremely steep slopes, cut level runs joined together by steps, or zigzag the path across the hill.
Things You'll Need
Shovel
Bark
Wheelbarrow
Railroad ties
Level
Stakes
Hammer
String
Weed barrier cloth
Rake
Hammer stakes into the ground and connect string to them to show the outline of both sides of the path, which should be at least 3 feet wide to account for the width of the railroad ties. Ideally, the slope rises gradually; about 1 inch per foot. Zigzag the path to achieve the gradual rise. Dig into the side of the slope with a shovel to make the zigzagged path wider if necessary.
Remove 2 or 3 inches of dirt so the path becomes lower than the ground around it. Later, when you fill it in with bark, it will be slightly higher than the ground around it.
Place the level every few feet along the path. Use the shovel to make the path as level as possible from side to side; move mounds of dirt to fill in places where dirt is missing. Remove any rocks, extra dirt and debris to make a smooth path.
Dig 4-inch deep trenches along both sides of the path for the railroad ties, which will act as the border, to rest in. Line the path with weed-barrier cloth all the way into the trenches so the railroad ties will help hold it in place. Press garden staples into the cloth in other spots to keep it secure.
Place the narrowest side of the railroad tie in the trenches, so the narrow side becomes its bottom. The tie will stand up about 5 inches above the dirt trench. Hammer one or two 12-inch stakes diagonally through the railroad tie into the dirt if the slope is so steep that the railroad tie may become dislodged.
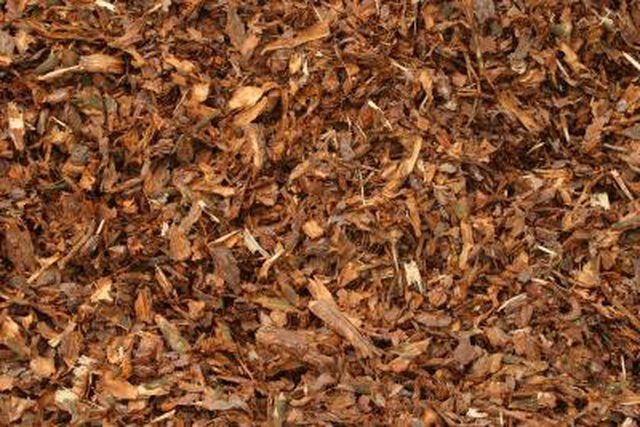
Fill the path with bark until it is at least 3 inches deep and completely covers the weed-barrier mat. Rake to smooth and level it.


