Bulbs
Flower Basics
Flower Beds & Specialty Gardens
Flower Garden
Garden Furniture
Garden Gnomes
Garden Seeds
Garden Sheds
Garden Statues
Garden Tools & Supplies
Gardening Basics
Green & Organic
Groundcovers & Vines
Growing Annuals
Growing Basil
Growing Beans
Growing Berries
Growing Blueberries
Growing Cactus
Growing Corn
Growing Cotton
Growing Edibles
Growing Flowers
Growing Garlic
Growing Grapes
Growing Grass
Growing Herbs
Growing Jasmine
Growing Mint
Growing Mushrooms
Orchids
Growing Peanuts
Growing Perennials
Growing Plants
Growing Rosemary
Growing Roses
Growing Strawberries
Growing Sunflowers
Growing Thyme
Growing Tomatoes
Growing Tulips
Growing Vegetables
Herb Basics
Herb Garden
Indoor Growing
Landscaping Basics
Landscaping Patios
Landscaping Plants
Landscaping Shrubs
Landscaping Trees
Landscaping Walks & Pathways
Lawn Basics
Lawn Maintenance
Lawn Mowers
Lawn Ornaments
Lawn Planting
Lawn Tools
Outdoor Growing
Overall Landscape Planning
Pests, Weeds & Problems
Plant Basics
Rock Garden
Rose Garden
Shrubs
Soil
Specialty Gardens
Trees
Vegetable Garden
Yard Maintenance
How to Start and Grow Coral Bells from Seed
How to Start and Grow Coral Bells from Seed. Coral bells--scientifically known as Heuchera sanguinea, and also called alumroot--are herbaceous perennials that feature bronze or reddish-green foliage with spikes of bell-shaped, delicate flowers of red, pink or white. Prized by gardeners for their nonstop summer blooming, coral bells begin to flower...

Coral bells--scientifically known as Heuchera sanguinea, and also called alumroot--are herbaceous perennials that feature bronze or reddish-green foliage with spikes of bell-shaped, delicate flowers of red, pink or white. Prized by gardeners for their nonstop summer blooming, coral bells begin to flower in early June and keep producing colorful blossoms until late August. Coral bells are low-lying--they don't normally exceed 18 inches high and a foot wide--and are effective in flower beds, as a border, along walkways or as a ground cover. Coral bells can be started indoors from seed; for best results, the seeds should be cold-stratified, or prechilled. By observing good gardening techniques for germination and planting, you can help your coral bells thrive.
Things You'll Need
Brown paper bag
Vermiculite
Potting mix
Seed tray
Spray mister
Thick clear plastic bag
Undertray heater (optional)
Grow light (optional)
Small clay flowerpots
Shovel or trowel
Organic mulch
Commercial all-purpose fertilizer
Collect coral bells seeds after blooming is completed. Allow the seed pods--located at the base of the blossoms--to dry on the plant, and then remove them and collect the seeds.
Cold-stratify the seeds by placing them in a brown paper bag with moist vermiculite and storing them in the refrigerator for 6 weeks, a process that ensures more effective germination.
Start the seeds indoor two months ahead of when you want to plant them outside--normally, after danger of last frost has passed. Sow the coral bells seeds over potting mix in a seed tray. Do not cover the seeds with mix; simply scatter them on top of the soil. Spray well with a mister to moisten the soil without disturbing the seeds.
Place the seed tray in a clear plastic bag, and put it in bright, indirect light. You may want to use an undertray heating pad to keep soil temperature at 65 to 75 degrees; a draft-free corner of your house can work just as well.
Remove the plastic when the seeds germinate, usually within 3 weeks. Place the tray in a sunny windowsill or under a grow light. Keep the soil evenly moist, but don't allow it to become water-logged or soggy.
Transplant the coral bells seedlings into small clay flowerpots filled with potting soil when each seedling has two sets of true leaves. Water thoroughly, and return to the windowsill. Keep the soil moist.
Plant the seedlings outdoors, after the last frost date, in a location with sun to partial shade and with well-drained, moist soil with a pH 6.1 to 7.8. Space the seedlings 9 to 12 inches apart. Water well, and water thereafter to keep soil moist as the seedlings are establishing themselves.
Add a 1-inch layer of organic mulch after transplanting to conserve moisture, protect the roots and provide a barrier against fungal diseases.
Fertilize the seedlings a week after transplanting with a water-soluble, all-purpose fertilizer, and repeat every four months in the growing season. Keep watered and weeded for the rest of the summer. If your coral bells don't bloom the first year, they probably will by the second.
Tips & Warnings
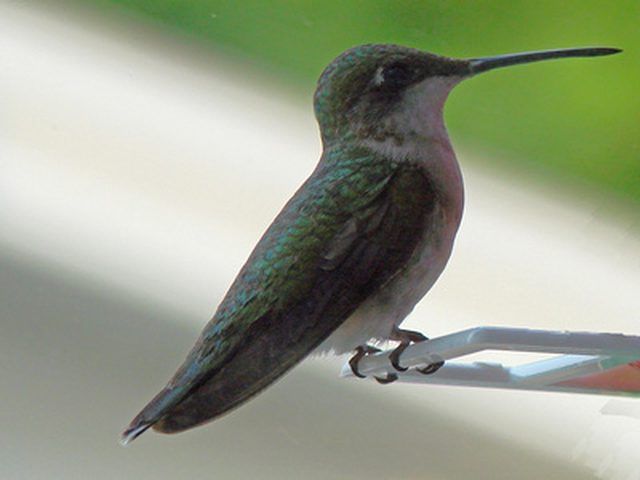
Coral bells are attractive to butterflies and hummingbirds.