Bulbs
Flower Basics
Flower Beds & Specialty Gardens
Flower Garden
Garden Furniture
Garden Gnomes
Garden Seeds
Garden Sheds
Garden Statues
Garden Tools & Supplies
Gardening Basics
Green & Organic
Groundcovers & Vines
Growing Annuals
Growing Basil
Growing Beans
Growing Berries
Growing Blueberries
Growing Cactus
Growing Corn
Growing Cotton
Growing Edibles
Growing Flowers
Growing Garlic
Growing Grapes
Growing Grass
Growing Herbs
Growing Jasmine
Growing Mint
Growing Mushrooms
Orchids
Growing Peanuts
Growing Perennials
Growing Plants
Growing Rosemary
Growing Roses
Growing Strawberries
Growing Sunflowers
Growing Thyme
Growing Tomatoes
Growing Tulips
Growing Vegetables
Herb Basics
Herb Garden
Indoor Growing
Landscaping Basics
Landscaping Patios
Landscaping Plants
Landscaping Shrubs
Landscaping Trees
Landscaping Walks & Pathways
Lawn Basics
Lawn Maintenance
Lawn Mowers
Lawn Ornaments
Lawn Planting
Lawn Tools
Outdoor Growing
Overall Landscape Planning
Pests, Weeds & Problems
Plant Basics
Rock Garden
Rose Garden
Shrubs
Soil
Specialty Gardens
Trees
Vegetable Garden
Yard Maintenance
How to Grow Mushrooms From Beer
How to Grow Mushrooms From Beer. Mushrooms have been used to flavor beer during brewing. Conversely, beer has also been used to help cook mushrooms. Yet there is a way to use the leftover grains from the brewing process to actually grow mushrooms. The process is relatively simple to produce mushrooms, but results can never be guaranteed.
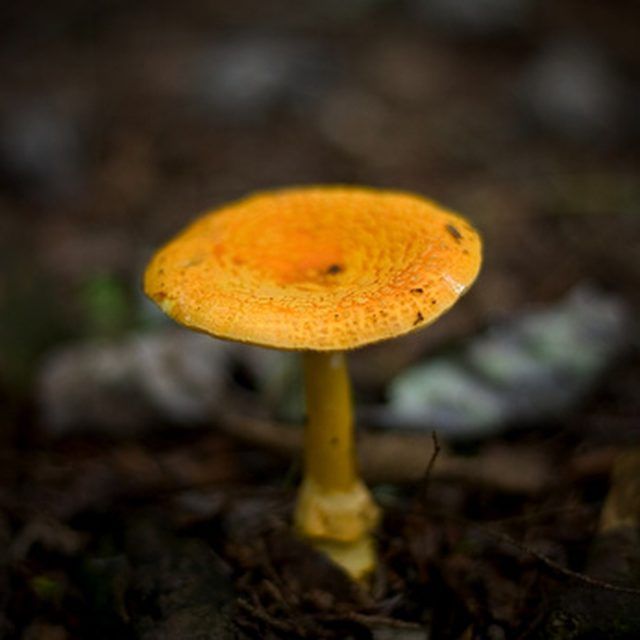
Mushrooms have been used to flavor beer during brewing. Conversely, beer has also been used to help cook mushrooms. Yet there is a way to use the leftover grains from the brewing process to actually grow mushrooms. The process is relatively simple to produce mushrooms, but results can never be guaranteed.
Things You'll Need
Leftover brewing grain
Pressure cooker
Sawdust
Plastic bag
Mushroom spores
Creating Mushrooms From Beer
Brew some beer. The key to growing mushrooms from beer is the leftover grains created during the brewing process. This moist grain is perfect for mushroom cultivation because it is rich in nutrients. If you want to increase the chances of mushroom growth, the grain should first be sterilized in a pressure cooker to eliminate any microbes that can damage the mushrooms. You should allow the grain to sit in the pressure cooker for at least 30 minutes.
Place the grain into a plastic bag once the grain has been sterilized and mixed with the sawdust. The sawdust helps absorb the moisture, so add enough to eliminate any puddles. The grain and sawdust should be moist, but not excessively wet. Cut thin slits into the bag. This is where the mushrooms will eventually grow. Find a moist dark spot to place the plastic bag. This is the ideal place for mushrooms to grow.
Order mushroom spores. In order for mushrooms to grow on the spent grain, the grain must first must be inoculated with mushroom spores. Spores can be purchased or they can be found under the mushroom top as a powder. Mix the spores with the spent grain and leave it alone in mushroom environment.
Introduce a little light each day. While mushrooms prefer warm, dark and moist places, they do require a small amount of light to cultivate. Do not use direct sunlight. Instead, a few hours of indirect sunlight or fluorescent light, should be enough to stimulate growth in the mushrooms.
Wait for the fruit. Keep an eye on the mushroom bag. Within a few days you should notice the mushrooms beginning to sprout from the slits in the bag. You can use a variety of mushroom types, but it is best to start with the simplest such as oyster first until you get the hang of it. Then move up to the more exotic mushroom varieties like shiitake.


