Bulbs
Flower Basics
Flower Beds & Specialty Gardens
Flower Garden
Garden Furniture
Garden Gnomes
Garden Seeds
Garden Sheds
Garden Statues
Garden Tools & Supplies
Gardening Basics
Green & Organic
Groundcovers & Vines
Growing Annuals
Growing Basil
Growing Beans
Growing Berries
Growing Blueberries
Growing Cactus
Growing Corn
Growing Cotton
Growing Edibles
Growing Flowers
Growing Garlic
Growing Grapes
Growing Grass
Growing Herbs
Growing Jasmine
Growing Mint
Growing Mushrooms
Orchids
Growing Peanuts
Growing Perennials
Growing Plants
Growing Rosemary
Growing Roses
Growing Strawberries
Growing Sunflowers
Growing Thyme
Growing Tomatoes
Growing Tulips
Growing Vegetables
Herb Basics
Herb Garden
Indoor Growing
Landscaping Basics
Landscaping Patios
Landscaping Plants
Landscaping Shrubs
Landscaping Trees
Landscaping Walks & Pathways
Lawn Basics
Lawn Maintenance
Lawn Mowers
Lawn Ornaments
Lawn Planting
Lawn Tools
Outdoor Growing
Overall Landscape Planning
Pests, Weeds & Problems
Plant Basics
Rock Garden
Rose Garden
Shrubs
Soil
Specialty Gardens
Trees
Vegetable Garden
Yard Maintenance
DIY Concrete Curbing Molds
DIY Concrete Curbing Molds. Curbs provide a barrier between your lawn or sidewalk and the road. Curbs allow storm water to run away from your property in the direction you want it to go. Add a little color to the concrete mixture and draw attention to your favorite flowers and landscaping. Whether you are adding edging to a path or landscaping or...

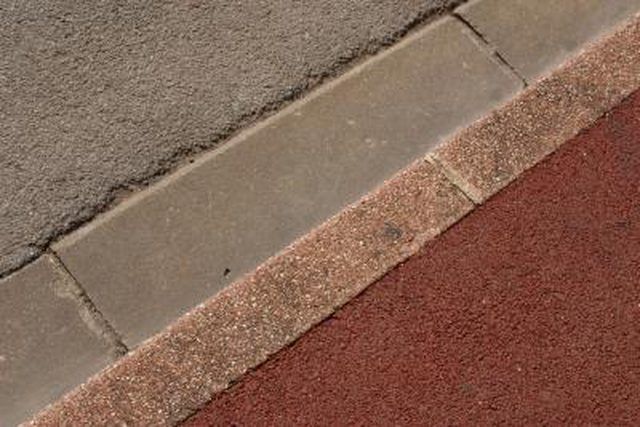
Curbs provide a barrier between your lawn or sidewalk and the road. Curbs allow storm water to run away from your property in the direction you want it to go. Add a little color to the concrete mixture and draw attention to your favorite flowers and landscaping. Whether you are adding edging to a path or landscaping or installing curbs around sidewalks and in parking lots, you can build a quick, inexpensive curb mold out of wood and gutter.
Things You'll Need
10-foot plastic gutter
Vegetable oil
2 boards, 1-inch by 6-inches by 10-feet
1-inch by 6-inch board
Wooden stakes
2-inch screws
Drill
3-inch paint brush
Measuring tape
Miter saw
Latex gloves
Shovel
Plastic sheeting
Measure across the top of the gutter. Typical gutters are 5 inches, 6 inches or 7 inches across the top. Cut two pieces of 1-inch by 6-inch wood the width of the top of the gutter. Add 2 inches to your measurement. Your board will be 1-inch by 6-inches by 7-inches, 8-inches or 9- inches. These are your end pieces.
Build a rectangle. Attach one of the end pieces to the end of one of the long pieces with two screws, so you form an L-shape. Then, attach the other long piece to the other side of the end piece to form a U-shape. Attach the end pieces to the outside of the side boards. Then, attach the final end board to the outside of the other ends of the side boards. You should have a rectangle support now.
Place the rectangle support on a flat surface and slide the 10-foot plastic inside it. It should fit snugly inside the rectangle. Place it close to where you will be installing the curb, because it is very heavy.
Hammer wood stakes along the outside of the wood rectangle support every 18 inches to 2 feet. This will keep the wood and gutter in place so it will not bow out when you pour the concrete into the gutter. Stake both of the long sides of the support. Screw the stakes into the support sides.
Paint the vegetable oil onto the inside of the gutter and the wooden end pieces so that everywhere the concrete will be poured is covered with vegetable oil.
Mix your concrete and pour or shovel it into the gutter. Cover the concrete with plastic sheeting and let it sit for two to three days.
Remove the curb from your form. Remove the stakes from your form support and disassemble your support so the gutter is free. Roll the gutter over and dump the curb out of it. Bend the plastic out a bit to encourage the cement to fall out. Spray the curb each day for seven days and cover it with plastic. Do not move the curb for at least a week.
Tips & Warnings
Predrill your holes to prevent the wood from splitting. Pour your curbs when the temperature is between 50 degrees Fahrenheit and 70 degrees Fahrenheit. Add ?-inch rebar when you have poured half of the concrete into the form for additional strength.