Bulbs
Flower Basics
Flower Beds & Specialty Gardens
Flower Garden
Garden Furniture
Garden Gnomes
Garden Seeds
Garden Sheds
Garden Statues
Garden Tools & Supplies
Gardening Basics
Green & Organic
Groundcovers & Vines
Growing Annuals
Growing Basil
Growing Beans
Growing Berries
Growing Blueberries
Growing Cactus
Growing Corn
Growing Cotton
Growing Edibles
Growing Flowers
Growing Garlic
Growing Grapes
Growing Grass
Growing Herbs
Growing Jasmine
Growing Mint
Growing Mushrooms
Orchids
Growing Peanuts
Growing Perennials
Growing Plants
Growing Rosemary
Growing Roses
Growing Strawberries
Growing Sunflowers
Growing Thyme
Growing Tomatoes
Growing Tulips
Growing Vegetables
Herb Basics
Herb Garden
Indoor Growing
Landscaping Basics
Landscaping Patios
Landscaping Plants
Landscaping Shrubs
Landscaping Trees
Landscaping Walks & Pathways
Lawn Basics
Lawn Maintenance
Lawn Mowers
Lawn Ornaments
Lawn Planting
Lawn Tools
Outdoor Growing
Overall Landscape Planning
Pests, Weeds & Problems
Plant Basics
Rock Garden
Rose Garden
Shrubs
Soil
Specialty Gardens
Trees
Vegetable Garden
Yard Maintenance
How to Build a Transit for Leveling
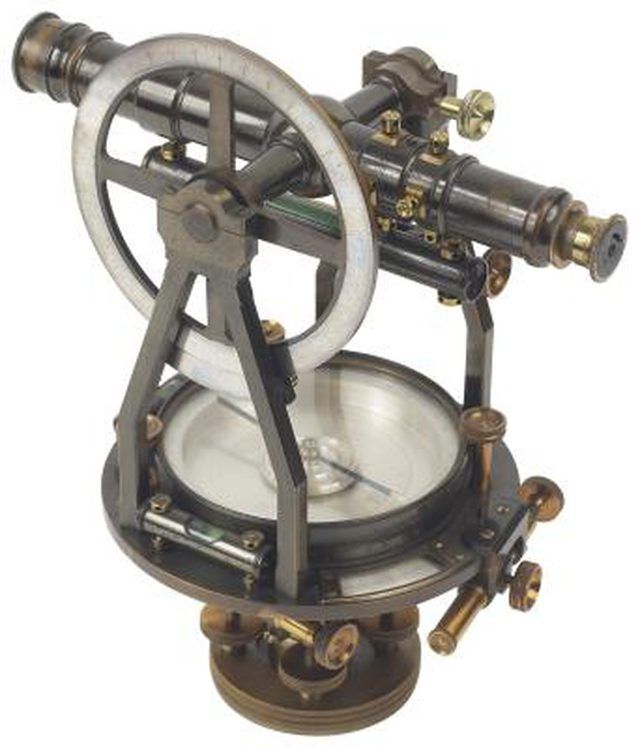
How to Build a Transit for Leveling. Transits are often used in archeology, surveying and major construction. But if you are doing something less complex than searching for a lost tomb, you can sometimes get by with a simple homemade transit. For example, if you are trying to level your yard a bit, so you can create a new garden, this basic transit...

Transits are often used in archeology, surveying and major construction. But if you are doing something less complex than searching for a lost tomb, you can sometimes get by with a simple homemade transit. For example, if you are trying to level your yard a bit, so you can create a new garden, this basic transit will serve your purpose.
Things You'll Need
Small bubble level
Small telescope or rifle scope
Clear plastic
Pen
Compass or something small and round
Clear tape
Duct tape
Ruler
8-foot wood pole
Marker
Tape you bubble level to the top of the camera tripod, but don't tape it too close to the center.
Draw a set of crosshairs with a pen over the plastic, then tape the clear plastic over the end of the telescope or scope. Use a ruler and compass for accuracy.
Attach your telescope or scope to the top of the camera mount. If the scope has a thread that fits the mount, you are in luck. However, it is likely that you will need to duct tape it in place.
Use the ruler to mark off the measurements on the pole. They need to be very clear. The best way to do this is to paint alternating black and white horizontal one inch strips. Next to each strip, write in the height in inches. This will be your stadia rod.
Level your transit. To do this, adjust the camera mount knobs until you can turn the mount 360-degrees without the bubble leaving the center of the level. You can now use your transit and the stadia rod you made.