Bulbs
Flower Basics
Flower Beds & Specialty Gardens
Flower Garden
Garden Furniture
Garden Gnomes
Garden Seeds
Garden Sheds
Garden Statues
Garden Tools & Supplies
Gardening Basics
Green & Organic
Groundcovers & Vines
Growing Annuals
Growing Basil
Growing Beans
Growing Berries
Growing Blueberries
Growing Cactus
Growing Corn
Growing Cotton
Growing Edibles
Growing Flowers
Growing Garlic
Growing Grapes
Growing Grass
Growing Herbs
Growing Jasmine
Growing Mint
Growing Mushrooms
Orchids
Growing Peanuts
Growing Perennials
Growing Plants
Growing Rosemary
Growing Roses
Growing Strawberries
Growing Sunflowers
Growing Thyme
Growing Tomatoes
Growing Tulips
Growing Vegetables
Herb Basics
Herb Garden
Indoor Growing
Landscaping Basics
Landscaping Patios
Landscaping Plants
Landscaping Shrubs
Landscaping Trees
Landscaping Walks & Pathways
Lawn Basics
Lawn Maintenance
Lawn Mowers
Lawn Ornaments
Lawn Planting
Lawn Tools
Outdoor Growing
Overall Landscape Planning
Pests, Weeds & Problems
Plant Basics
Rock Garden
Rose Garden
Shrubs
Soil
Specialty Gardens
Trees
Vegetable Garden
Yard Maintenance
How to Make Sulfur Candles
How to Make Sulfur Candles. You don't need experience to make simple sulfur candles, but attention to safety is a must. Sulfur candles are the old-school method of fumigating a greenhouse. The chemicals expended from the burning candles make their way into the crevices and cracks chemical foggers do, but at little environmental cost -- sulfur...
You don't need experience to make simple sulfur candles, but attention to safety is a must. Sulfur candles are the old-school method of fumigating a greenhouse. The chemicals expended from the burning candles make their way into the crevices and cracks chemical foggers do, but at little environmental cost -- sulfur candles are organic if you make them with organic beeswax. Although beeswax sulfur candles are better for the environment than pesticide foggers, they're just as harmful to your lungs and mucous membranes, so gloves, goggles and respirators are mandatory.
Things You'll Need
Grill or portable stove
Double boiler
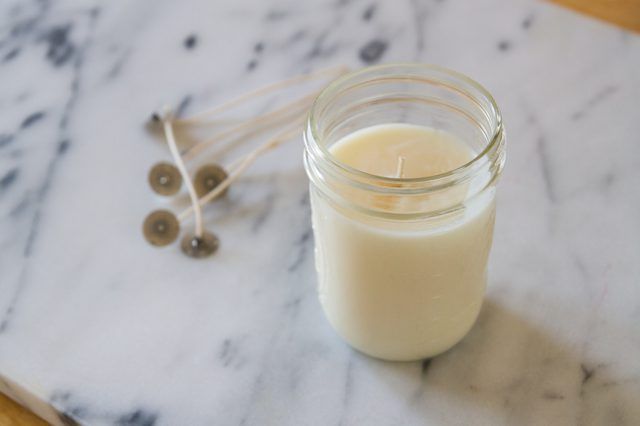
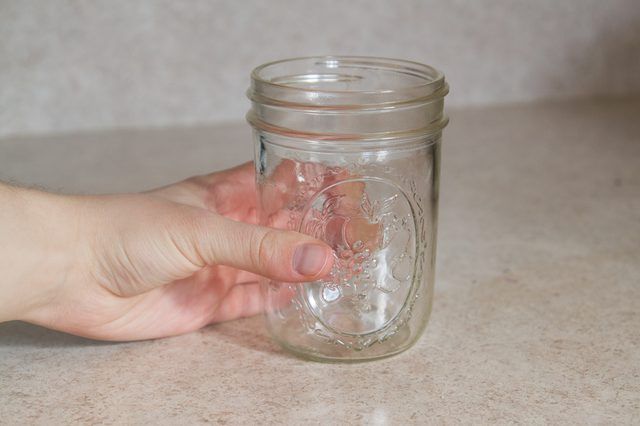
1-pint canning jar for each candle, or a pre-wicked conical candle mold
Filtered beeswax, 2 pounds per candle
Wooden stirrer
Square-braided number 10 wick
Lab goggles
Gloves
Respirator mask
Elemental sulfur, 1/4 pound per candle
Step 1
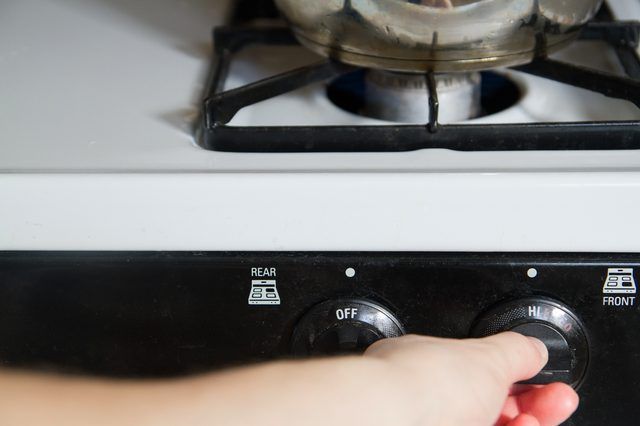
Light an outdoor grill or portable outdoor stove to operate with medium heat.
Step 2
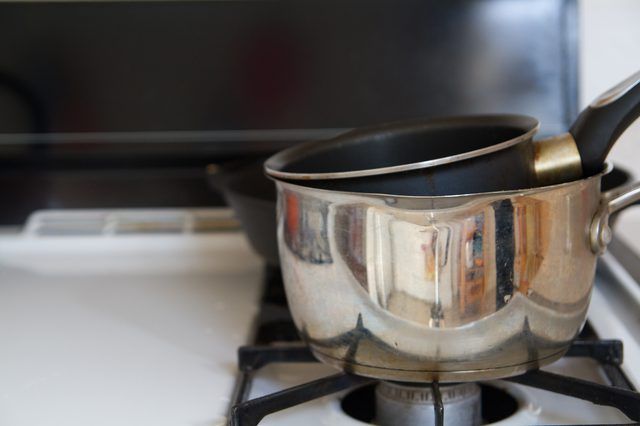
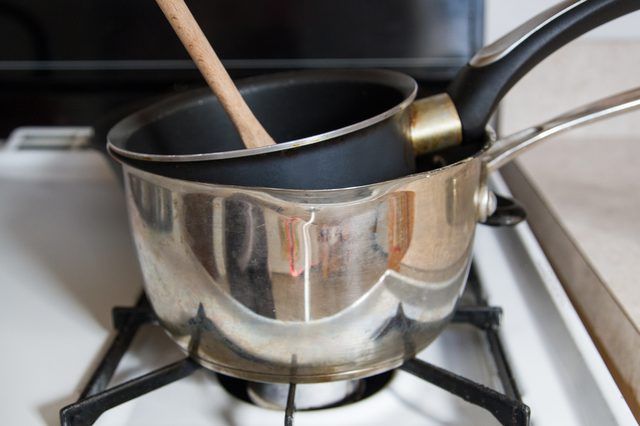
Set up your double boiler -- one stainless-steel saucepan nestled inside the other -- and place it on the stove. Use enough water to reach half to three-quarters of the way up the sides of the upper saucepan.
Step 3
Cut the filtered beeswax into 1-inch chunks and add it to the double boiler. Place a 1-pint canning jar on a stable heatproof surface. Alternatively, you can use a pre-wicked conical candle mold.
Step 4
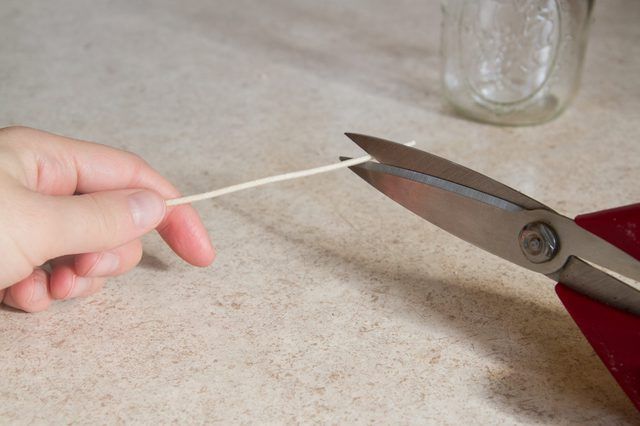
Cut a square-braided number 10 wick from the roll; cut the wick so it measures about 4 or 5 inches longer than the depth of the jar or mold.
Step 5
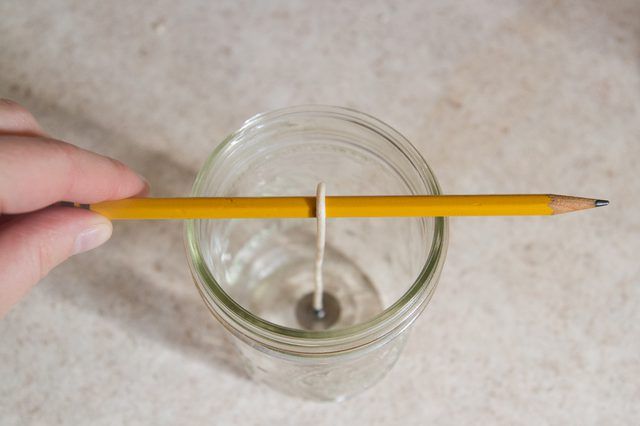
Tie one end of the wick around a pencil. Lower the wick into the center of the jar and place the pencil across the top of the jar mouth. You'll cut the wick and pencil away after the beeswax hardens.
Step 6
Stir the beeswax with a wooden stirrer. A paint stirrer works well. Sprinkle 1/4 pound of elemental sulfur into the beeswax and stir it vigorously until incorporated, about one minute. Wear lab goggles, gloves and a respirator mask when you work with flowers of sulfur.
Step 7
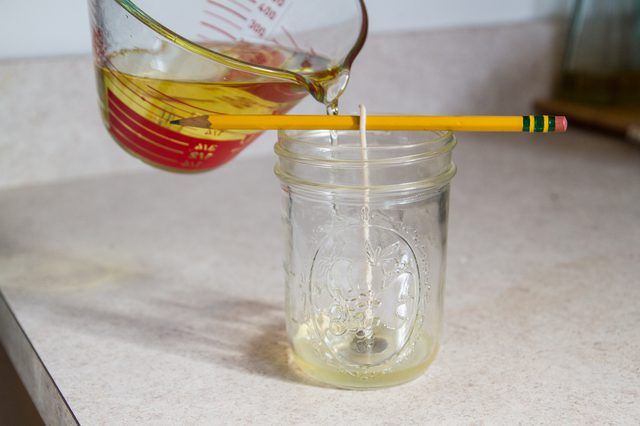
Pour the wax into the jar or mold using a heatproof measuring cup, allowing 1/2 inch of headspace. Let the wax cool completely, about six to eight hours. If you used a mold, place it in the freezer for 24 hours after it cools, and then remove the mold.
Step 8
Cut the top of the wick from the candle, leaving at least 1 inch extending from the surface.


