Bulbs
Flower Basics
Flower Beds & Specialty Gardens
Flower Garden
Garden Furniture
Garden Gnomes
Garden Seeds
Garden Sheds
Garden Statues
Garden Tools & Supplies
Gardening Basics
Green & Organic
Groundcovers & Vines
Growing Annuals
Growing Basil
Growing Beans
Growing Berries
Growing Blueberries
Growing Cactus
Growing Corn
Growing Cotton
Growing Edibles
Growing Flowers
Growing Garlic
Growing Grapes
Growing Grass
Growing Herbs
Growing Jasmine
Growing Mint
Growing Mushrooms
Orchids
Growing Peanuts
Growing Perennials
Growing Plants
Growing Rosemary
Growing Roses
Growing Strawberries
Growing Sunflowers
Growing Thyme
Growing Tomatoes
Growing Tulips
Growing Vegetables
Herb Basics
Herb Garden
Indoor Growing
Landscaping Basics
Landscaping Patios
Landscaping Plants
Landscaping Shrubs
Landscaping Trees
Landscaping Walks & Pathways
Lawn Basics
Lawn Maintenance
Lawn Mowers
Lawn Ornaments
Lawn Planting
Lawn Tools
Outdoor Growing
Overall Landscape Planning
Pests, Weeds & Problems
Plant Basics
Rock Garden
Rose Garden
Shrubs
Soil
Specialty Gardens
Trees
Vegetable Garden
Yard Maintenance
How to Make a Walkway with Deck Wood
How to Make a Walkway with Deck Wood. Wooden walkways add a soft, inviting look to a deck and help unify it with other features in a landscape. Since decks are made with pressure-treated or naturally rot-resistant wood, the same material is a practical choice for a walkway. With basic tools you can make a long-lasting wooden walkway with a few days...
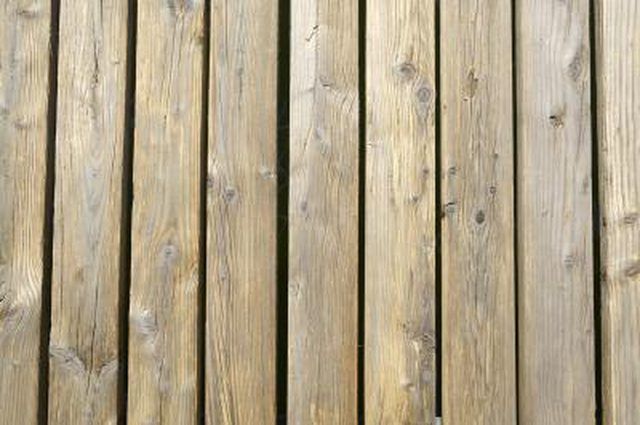
Wooden walkways add a soft, inviting look to a deck and help unify it with other features in a landscape. Since decks are made with pressure-treated or naturally rot-resistant wood, the same material is a practical choice for a walkway. With basic tools you can make a long-lasting wooden walkway with a few days of work, depending on the size of the project.
Things You'll Need
2 ropes
Tape measure
Shovel
Tarp
3/4-inch gravel
2-by-4-inch deck wood
Circular saw
Galvanized screws
Drill
Bracket
1/2-inch drill bit
1/2-inch rebar
Sledgehammer
4-by-4-inch board
Hammer
Galvanized nails
Mark out the course of the walkway by laying two ropes parallel on the ground from the starting point to the end. Measure the dimensions with a tape measure and space the ropes 4 feet, 8 inches apart.
Clear the grass and 3 inches of topsoil from between the ropes with a shovel. Store the removed soil on a plastic tarp to fill in dips in the yard. Pour a 2-inch layer of 3/4-inch gravel over the site. The gravel improves drainage and blocks mud from floating up onto your walkway.
Cut 8-foot lengths of 2-by-4-inch deck wood in half for the two ends of the walkway and center cross supports. Use a circular saw to cut one 4-foot support board for every 2 feet of length.
Place 8-foot lengths of 2-by-4-inch deck wood against the inside walls of the walkway site to act as support rails. Butt the ends flush against each other and use a drill to attach the boards with screws and a bracket on the interior side of the joints. Lay a 4-foot board on one end so the joints are staggered on opposite sides.
Drill pilot holes through the 8-foot side rails with a 1/2-inch bit. The holes should be at an angle and 12 inches in from each end, with one through the center.
Hammer 12-inch lengths of 1/2-inch rebar through each pilot hole with a sledgehammer to secure the rail boards down.
Set one cross support across the width for every 2 feet of walkway length. Drill two galvanized screws through the outside of the rail boards into the end of each support board.
Fill the open space between the cross boards with 3/4-inch gravel and tamp it with the end of a 4-by-4-inch board so the rocks are just lower than the support rails.
Lay deck wood over the rails across the width of the walkway and drop a nail between each board so they�re spaced consistently. Use a hammer and two 3-inch galvanized nails at the end of each to secure them to the rails.


