Bulbs
Flower Basics
Flower Beds & Specialty Gardens
Flower Garden
Garden Furniture
Garden Gnomes
Garden Seeds
Garden Sheds
Garden Statues
Garden Tools & Supplies
Gardening Basics
Green & Organic
Groundcovers & Vines
Growing Annuals
Growing Basil
Growing Beans
Growing Berries
Growing Blueberries
Growing Cactus
Growing Corn
Growing Cotton
Growing Edibles
Growing Flowers
Growing Garlic
Growing Grapes
Growing Grass
Growing Herbs
Growing Jasmine
Growing Mint
Growing Mushrooms
Orchids
Growing Peanuts
Growing Perennials
Growing Plants
Growing Rosemary
Growing Roses
Growing Strawberries
Growing Sunflowers
Growing Thyme
Growing Tomatoes
Growing Tulips
Growing Vegetables
Herb Basics
Herb Garden
Indoor Growing
Landscaping Basics
Landscaping Patios
Landscaping Plants
Landscaping Shrubs
Landscaping Trees
Landscaping Walks & Pathways
Lawn Basics
Lawn Maintenance
Lawn Mowers
Lawn Ornaments
Lawn Planting
Lawn Tools
Outdoor Growing
Overall Landscape Planning
Pests, Weeds & Problems
Plant Basics
Rock Garden
Rose Garden
Shrubs
Soil
Specialty Gardens
Trees
Vegetable Garden
Yard Maintenance
How to Create a Wood Path
How to Create a Wood Path. A wood path can add plenty of rustic charm to a garden or yard. Because wood chips are inexpensive and easy to install, it's an effective option if you're on a budget and want to create the path yourself. But the project does take some careful planning to ensure that the chips stay on the path and don't wind up all over...

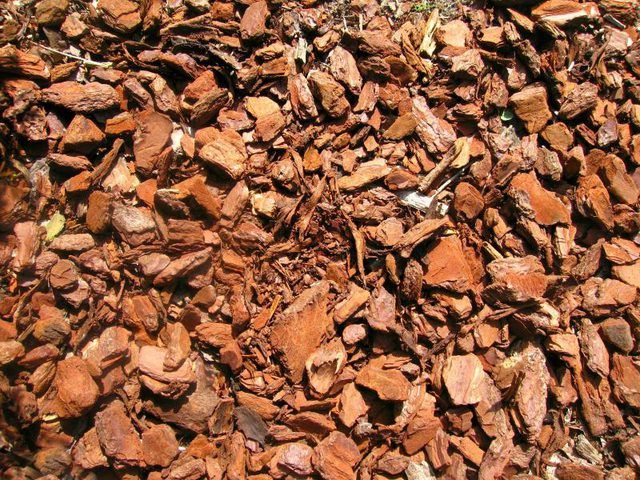
A wood path can add plenty of rustic charm to a garden or yard. Because wood chips are inexpensive and easy to install, it's an effective option if you're on a budget and want to create the path yourself. But the project does take some careful planning to ensure that the chips stay on the path and don't wind up all over your lawn.
Outline the Path
The first step in creating the path is creating an outline that helps you know where to dig. A garden hose works well to help define the path, particularly if youíre building a curved or winding path. Once youíve laid the hose out to create the right shape and size for the path, spread powdered chalk along the hose to create an outline on the grass or soil so you can remove the hose and begin excavating the path. Pay attention to the drainage in the area, though -- using wood chips or mulch in a spot with poor drainage can lead to a soggy path.
Dig It Out
Once you know where your path will be and have created an outline, you need to remove the sod where the wood chips will go. For a short path, a hoe or square shovel works well to remove the turf. However, if your path is long, you may want to rent a gas-powered sod cutter to remove the turf. Once youíve removed the sod, dig out another 2 to 4 inches of soil to provide space for the wood chips to sit.
Prepare the Base
If you donít want weeds cropping up in the middle of the path, you must prepare the soil beneath it before laying down the chips. First, get rid of any lingering roots by applying a weed and grass killer to the soil. Next, cut a length of landscape fabric in the shape of the path and place it on top of the soil. The fabric helps prevent weeds from growing up through the path in the future. When choosing landscape fabric, though, avoid plastic varieties, which can collect water and leave the path soggy. Instead, opt for a burlap fabric thatís porous enough to allow some air and water through. You can prevent the fabric from bunching up beneath the wood chips by using pins or spikes to hold it in place. The pathís edging can also help keep the fabric stretched taut.
Edge It
To keep the wood chips in place, you need to place some type of edging along the path. Plastic edging is inexpensive and easy to install, but it can look cheap, so you may want to hide it with plants. Metal edging is a little more expensive, but also more durable. Brick, stone, concrete pavers and timbers are more expensive but can give a path a more finished look. If youíre using plastic or metal edging, youíll need to use a wooden block and a hammer to tap the pieces into the ground. Brick, stone, concrete and timber edging is usually just set in place.
Fill the Path
Once the soil is prepared and the edging is in place, you can spread the wood chips. Make sure to apply an even level so the path has a uniform thickness and all of the landscaping fabric is hidden. Wood chips will eventually settle naturally, but you can help the process along by spreading them with a rake. After installation, you may occasionally need to rake the path to keep it even. Wood chips also break down with time, so refill the path as necessary.