Bulbs
Flower Basics
Flower Beds & Specialty Gardens
Flower Garden
Garden Furniture
Garden Gnomes
Garden Seeds
Garden Sheds
Garden Statues
Garden Tools & Supplies
Gardening Basics
Green & Organic
Groundcovers & Vines
Growing Annuals
Growing Basil
Growing Beans
Growing Berries
Growing Blueberries
Growing Cactus
Growing Corn
Growing Cotton
Growing Edibles
Growing Flowers
Growing Garlic
Growing Grapes
Growing Grass
Growing Herbs
Growing Jasmine
Growing Mint
Growing Mushrooms
Orchids
Growing Peanuts
Growing Perennials
Growing Plants
Growing Rosemary
Growing Roses
Growing Strawberries
Growing Sunflowers
Growing Thyme
Growing Tomatoes
Growing Tulips
Growing Vegetables
Herb Basics
Herb Garden
Indoor Growing
Landscaping Basics
Landscaping Patios
Landscaping Plants
Landscaping Shrubs
Landscaping Trees
Landscaping Walks & Pathways
Lawn Basics
Lawn Maintenance
Lawn Mowers
Lawn Ornaments
Lawn Planting
Lawn Tools
Outdoor Growing
Overall Landscape Planning
Pests, Weeds & Problems
Plant Basics
Rock Garden
Rose Garden
Shrubs
Soil
Specialty Gardens
Trees
Vegetable Garden
Yard Maintenance
How to Replace a Lawn Tractor Tire
How to Replace a Lawn Tractor Tire. Lawn tractor tires, golf cart tires, rototiller tires, wheelbarrow tires -- most of these are small, tubeless tires and can be changed pretty easily with some elbow grease and a few simple tools. Heck, I have even changed motorcycle and car tires before with the same method. I assume that you already have your...
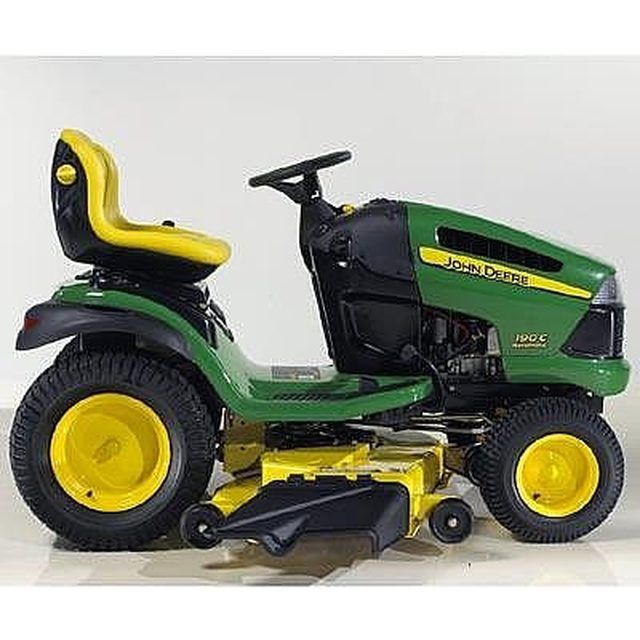
Lawn tractor tires, golf cart tires, rototiller tires, wheelbarrow tires -- most of these are small, tubeless tires and can be changed pretty easily with some elbow grease and a few simple tools. Heck, I have even changed motorcycle and car tires before with the same method. I assume that you already have your new tires ready to install, so let's get started.
Things You'll Need
3 tire irons or thick screwdrivers
An air pump or compressor
Soapy water in a spray bottle
Valve stem tool
Protective padding (optional)
REMOVE THE WHEEL -- I assume you know how to remove the wheel from the tractor. Simply jack it up, support it with stands, unscrew the lug nuts or remove the axle pin, and remove the wheel.
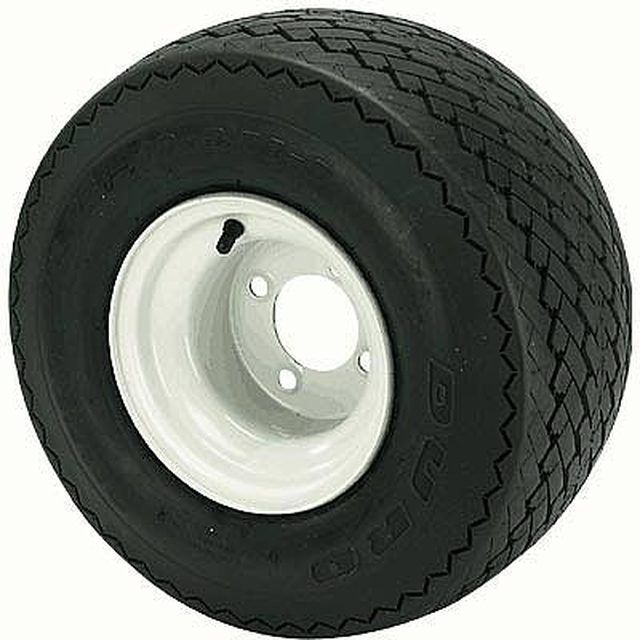
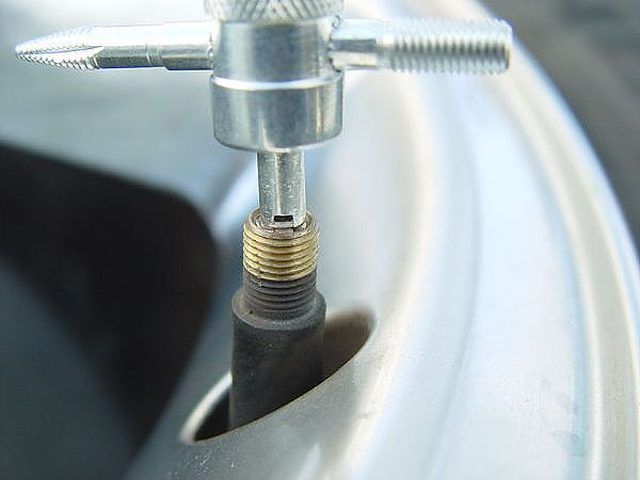
LET OUT THE AIR -- You can push and hold the valve down until all of the air is out, or you can use a cheap valve stem tool to unscrew and remove the valve. This is preferable because it's faster and also when you reinflate the new tire, it will inflate quicker and seat the bead easier -- more on that later.
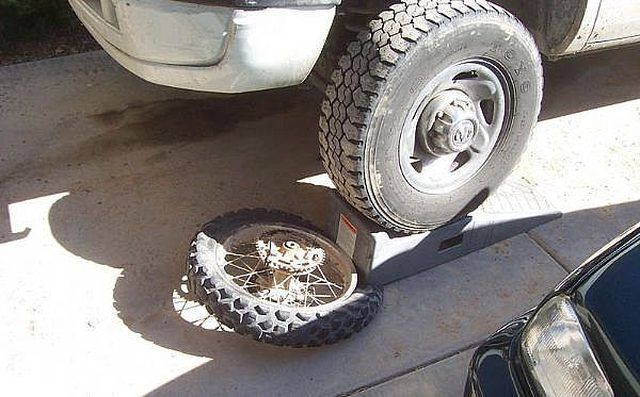
BREAK THE BEAD -- This can be tricky. Many times, the tire becomes stuck to the rim. You need to push the tire down as close to the rim as possible and break the bead. Here's how I have done it. Lay the wheel down in the driveway or garage and put a board or ramp down with one end on the tire next to the rim. With someone watching, slowly drive your car up onto the ramp until the weight of the car on the board pops the tire down and free of the rim. Lay the wheel on the floor or on a workbench.
REMOVE THE TOP BEAD -- Place a piece or carpet or other protection on the rim next to the tire. Get out two tire irons and place them a few inches apart on top of the rim and under the tire, as shown in the picture. Lever the tire up and clear of the rim. Leave the two irons in place and put the third iron a few inches outside of one of the two, on top of the rim and under the tire, and lever that section up and over the rim. Pull the middle iron out and repeat prying up small sections until the whole bead is free and above the rim.
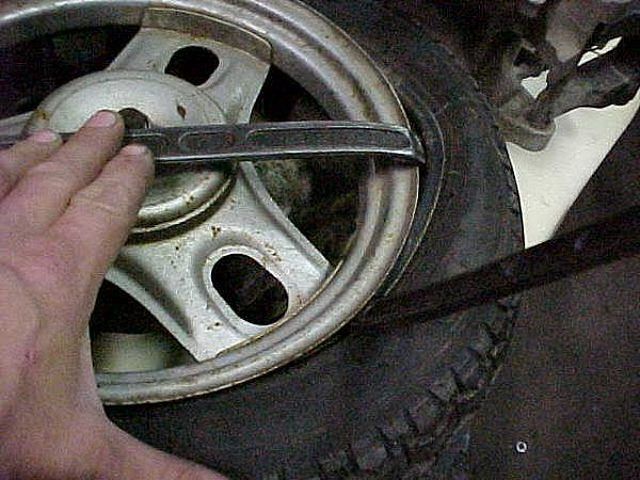
REMOVE THE BOTTOM BEAD -- Now pull the bottom bead of the tire up so it touches the top of the rim. Working from under the tire now, use the same technique to pry the bottom bead of the tire up and over the top of the rim, as you see in the photo.
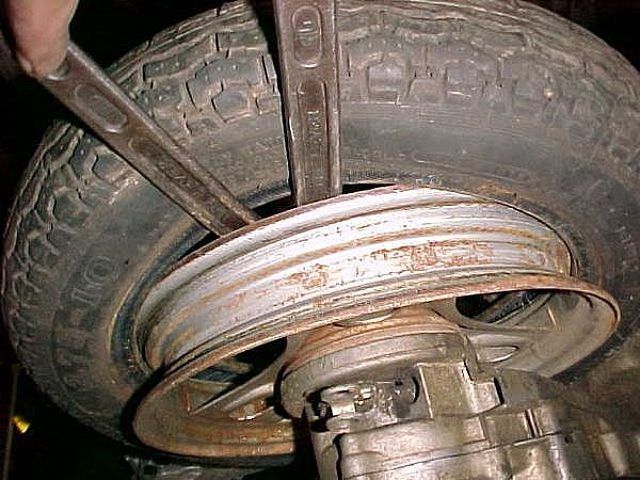
CLEAN AND LUBE THE RIM -- There is usually rubber or other gunk stuck to the rim that you want to remove. The edge of the rim that contacts the bead needs to be clean and smooth in order to seal properly. When clean and shiny, spray the soapy water onto both the rim and the new tire beads to make them slippery.
MOUNT THE NEW TIRE -- Put the new tire over the top of the wheel and push down with some force. You should be able to get about 1/2 the bottom tire bead over the rim. Using your tire irons again, lever the bottom bead over the top of the rim all the way around. Then do the same to the top bead.
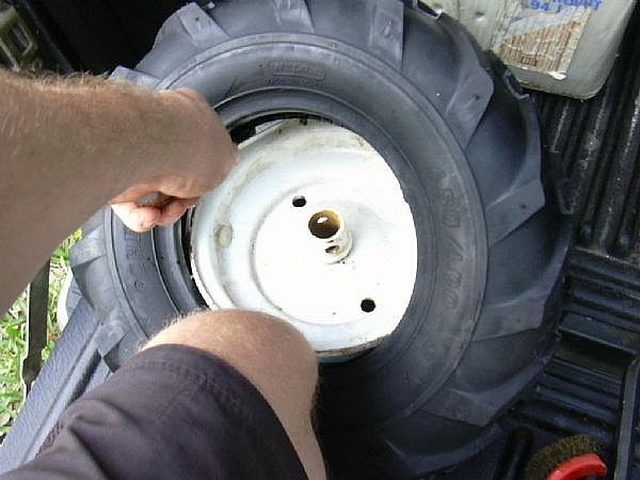
SEAT THE BEADS -- With the valve stem still out, attach an air hose to the valve. It is possible to do this with a manual pump, but MUCH easier with compressed air. If you don't have a compressor, take the tire to a gas station and use theirs. The trick to this is getting the beads wet with more soapy water and compressing the outside of tire so that the beads touch the rim on both sides. If you have a ratcheting tiedown, you can use this around the circumference of the tire and squeeze it so that the beads touch the rim. Inflate the tire until you hear two loud POPS as the two beads seat against the rim. You may have to overinflate the tire slightly. Be sure to do this safely.
REPLACE STEM AND INFLATE -- Once the beads are seated, let out the air, replace the valve into the stem and inflate the tire to the proper pressure.
MOUNT THE WHEEL -- Replace the wheel back onto the tractor and tighten the lug nuts to the proper torque or reinsert the axle pin. You're done!
Tips & Warnings
Harbor Freight sells tire irons and other tire mounting tools.
The most dangerous part is seating the beads, since force is required from the air pressure. Wear eye protection and protect yourself.
Be sure both beads have seated before installing the valve and inflating the new tire.