Bulbs
Flower Basics
Flower Beds & Specialty Gardens
Flower Garden
Garden Furniture
Garden Gnomes
Garden Seeds
Garden Sheds
Garden Statues
Garden Tools & Supplies
Gardening Basics
Green & Organic
Groundcovers & Vines
Growing Annuals
Growing Basil
Growing Beans
Growing Berries
Growing Blueberries
Growing Cactus
Growing Corn
Growing Cotton
Growing Edibles
Growing Flowers
Growing Garlic
Growing Grapes
Growing Grass
Growing Herbs
Growing Jasmine
Growing Mint
Growing Mushrooms
Orchids
Growing Peanuts
Growing Perennials
Growing Plants
Growing Rosemary
Growing Roses
Growing Strawberries
Growing Sunflowers
Growing Thyme
Growing Tomatoes
Growing Tulips
Growing Vegetables
Herb Basics
Herb Garden
Indoor Growing
Landscaping Basics
Landscaping Patios
Landscaping Plants
Landscaping Shrubs
Landscaping Trees
Landscaping Walks & Pathways
Lawn Basics
Lawn Maintenance
Lawn Mowers
Lawn Ornaments
Lawn Planting
Lawn Tools
Outdoor Growing
Overall Landscape Planning
Pests, Weeds & Problems
Plant Basics
Rock Garden
Rose Garden
Shrubs
Soil
Specialty Gardens
Trees
Vegetable Garden
Yard Maintenance
How to Repair an Existing Backyard Shed
How to Repair an Existing Backyard Shed. Backyard sheds not only help you organize gardening equipment they also provide protection from the weather. Mowers, pruning tools and weed trimmers can easily rust when rain seeps into floors. Provide protection for your shed floor from floods and rain. Monitor your shed floor when it rains to see if there...
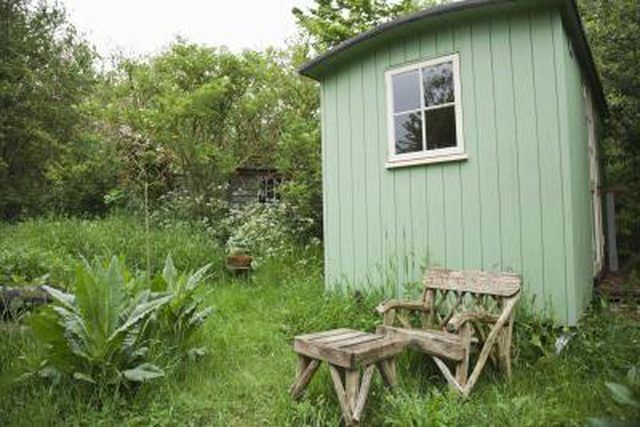
Backyard sheds not only help you organize gardening equipment they also provide protection from the weather. Mowers, pruning tools and weed trimmers can easily rust when rain seeps into floors. Provide protection for your shed floor from floods and rain. Monitor your shed floor when it rains to see if there is any water build up. Check out all your lawn equipment to ensure that it is not showing signs of rust or other weathering. Repair the floors to keep your tools organized and ready to use.
Things You'll Need
Broom
Leveler
Claw hammer
Ply
Gravel
Bricks
Tape measure
Saw
Pressure treated wood
Galvanized nails
Wood preserver
Paint brush
Eaves
Gutters
Paintbrush
Remove everything on the floor of your shed. Sweep the floor, so you can get a good look at the damage. Feel each plank of the floor to see if it feels mushy or rotted.
Place a leveler on each plank to make sure there is not slope. Sloping floors generally require foundation leveling. Use a claw hammer or a small ply to remove the nails of rotted wood or sloping wood.
Fill the foundation with dirt for wood that is uneven with the rest of the floor. If the slope is drastically different, you can place bricks or gravel underneath the foundation.
Measure the wood that you've removed to know how much cut. Cut the new pressure treated wood and lay down on the floor. Nail the wood in with galvanized nails.
Paint the wood floor with wood preserver. Wait for one coat to dry before applying the second coat. Make sure there is at least three coats of wood preserver.


