Bulbs
Flower Basics
Flower Beds & Specialty Gardens
Flower Garden
Garden Furniture
Garden Gnomes
Garden Seeds
Garden Sheds
Garden Statues
Garden Tools & Supplies
Gardening Basics
Green & Organic
Groundcovers & Vines
Growing Annuals
Growing Basil
Growing Beans
Growing Berries
Growing Blueberries
Growing Cactus
Growing Corn
Growing Cotton
Growing Edibles
Growing Flowers
Growing Garlic
Growing Grapes
Growing Grass
Growing Herbs
Growing Jasmine
Growing Mint
Growing Mushrooms
Orchids
Growing Peanuts
Growing Perennials
Growing Plants
Growing Rosemary
Growing Roses
Growing Strawberries
Growing Sunflowers
Growing Thyme
Growing Tomatoes
Growing Tulips
Growing Vegetables
Herb Basics
Herb Garden
Indoor Growing
Landscaping Basics
Landscaping Patios
Landscaping Plants
Landscaping Shrubs
Landscaping Trees
Landscaping Walks & Pathways
Lawn Basics
Lawn Maintenance
Lawn Mowers
Lawn Ornaments
Lawn Planting
Lawn Tools
Outdoor Growing
Overall Landscape Planning
Pests, Weeds & Problems
Plant Basics
Rock Garden
Rose Garden
Shrubs
Soil
Specialty Gardens
Trees
Vegetable Garden
Yard Maintenance
How to Build Small Wooden Bridges
How to Build Small Wooden Bridges. Small wooden bridges are typically found over footpaths and small garden streams. Many streams flow heavily only in the spring, so a small wooden bridge is sufficient to provide dry passage from one side to the other. A small wooden bridge may even be used to avoid muddy areas along a hiking path in wet weather...
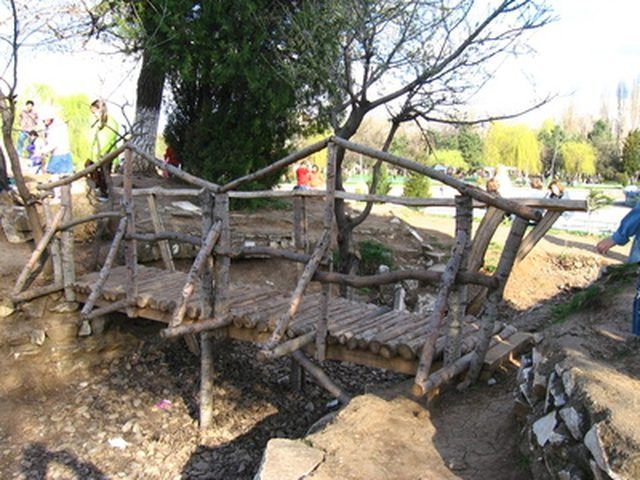
Small wooden bridges are typically found over footpaths and small garden streams. Many streams flow heavily only in the spring, so a small wooden bridge is sufficient to provide dry passage from one side to the other. A small wooden bridge may even be used to avoid muddy areas along a hiking path in wet weather while also reducing trail erosion. No matter the use, a small wooden bridge can be constructed from readily available materials.
Things You'll Need
2 4x4x96-inch landscaping posts
24 1x4x48-inch deck boards
Tape measure
Screw gun
1 box of 2?-inch coated deck screws
Position the two 4x4x96-inch landscaping posts parallel to each other approximately 48-inches apart. These form the bottom supports of the bridge.
Lay out each of the 1x4x48-inch deck boards so they rest on top of the landscaping posts. They should be perpendicular to the landscaping posts. These boards become the surface to walk across.
Using a tape measure, space each of the 1x4x48-inch deck boards ?-inch apart. Fasten the boards in place using a screw gun and two ?-inch deck screws. Screw down through each board into the landscaping posts. Space the screws 1-inch in from the end of each board. Place two screws in each board approximately ?-inch in from the side edge of each board.
Carefully lower the assembled bridge into position over the crossing. Once the bridge is in place on either side of the crossing, it is safe to walk across.
Tips & Warnings
Apply an abrasive coating to the walking surface of the bridge if it is to be used during wet weather.
Wear safety glasses when working with wood.
This bridge should only be used to walk across. It is only designed for small crossings such as small streams and muddy areas on footpaths.


