Bulbs
Flower Basics
Flower Beds & Specialty Gardens
Flower Garden
Garden Furniture
Garden Gnomes
Garden Seeds
Garden Sheds
Garden Statues
Garden Tools & Supplies
Gardening Basics
Green & Organic
Groundcovers & Vines
Growing Annuals
Growing Basil
Growing Beans
Growing Berries
Growing Blueberries
Growing Cactus
Growing Corn
Growing Cotton
Growing Edibles
Growing Flowers
Growing Garlic
Growing Grapes
Growing Grass
Growing Herbs
Growing Jasmine
Growing Mint
Growing Mushrooms
Orchids
Growing Peanuts
Growing Perennials
Growing Plants
Growing Rosemary
Growing Roses
Growing Strawberries
Growing Sunflowers
Growing Thyme
Growing Tomatoes
Growing Tulips
Growing Vegetables
Herb Basics
Herb Garden
Indoor Growing
Landscaping Basics
Landscaping Patios
Landscaping Plants
Landscaping Shrubs
Landscaping Trees
Landscaping Walks & Pathways
Lawn Basics
Lawn Maintenance
Lawn Mowers
Lawn Ornaments
Lawn Planting
Lawn Tools
Outdoor Growing
Overall Landscape Planning
Pests, Weeds & Problems
Plant Basics
Rock Garden
Rose Garden
Shrubs
Soil
Specialty Gardens
Trees
Vegetable Garden
Yard Maintenance
How to Make a Toy Hammock Out of a Sheet
How to Make a Toy Hammock Out of a Sheet. If stuffed animals are taking over your child’s room, create a simple hammock, which gets them off the floor in style. This hammock is moderately easy to make and requires little crafting or sewing experience. The finished product provides a convenient and affordable way to organize, store and display...
If stuffed animals are taking over your child’s room, create a simple hammock, which gets them off the floor in style. This hammock is moderately easy to make and requires little crafting or sewing experience. The finished product provides a convenient and affordable way to organize, store and display a stuffed toy collection. Sheets are available in a wide array of colors and patterns to match any decor, allowing the creation of a customizable and attractive storage solution for any child’s bedroom or play area.

Things You'll Need
1 flat sheet, any size
Coordinating color of sewing thread
Tape measure
Scissors
Straight pins
Drill
Marker
3 large cup hooks
Step 1
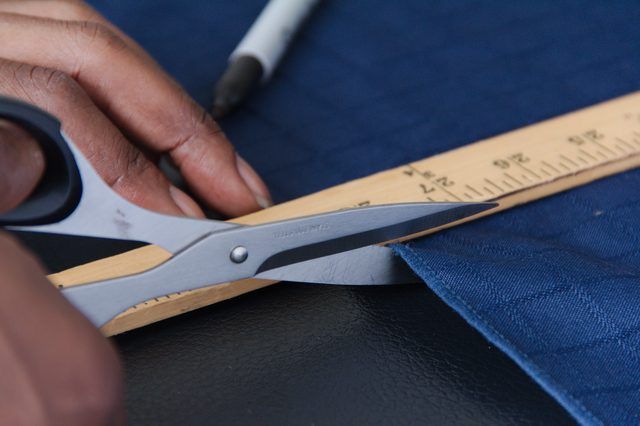
Cut the sheet into a square. Lay the sheet flat on the floor and measure the width. Mark the sheet lengthwise with a marker at the distance of the width measurement. Cut across the sheet from one side to the other at the marker.

Step 2
Fold the sheet from one corner to the other to form a triangle. Fold over each edge by 1 inch and place straight pins to hold the folds in place every 1/2 inch to an inch around the three sides. Place pins approximately a 1/2 inch from the outer edges and sew a straight stitch seam about 1/4 inch from outer edge on all three sides.

Step 3
Cut a 1-inch slit in each of the 3 corners diagonally from the center toward the corner, approximately 2 inches inward from the tip of the corner. Sew, using a zigzag stitch, around the edges of each slit, forming the equivalent of oversized button holes.

Step 4
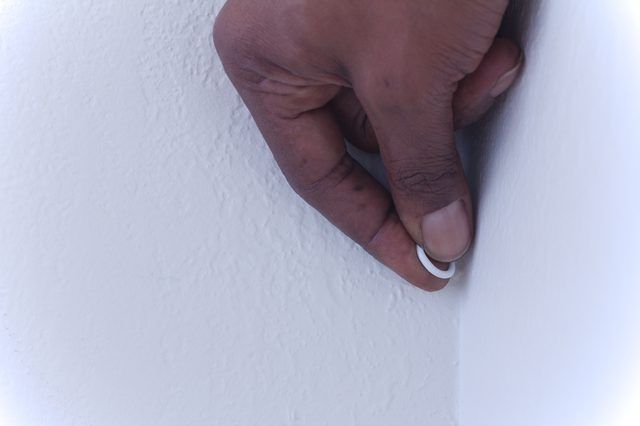
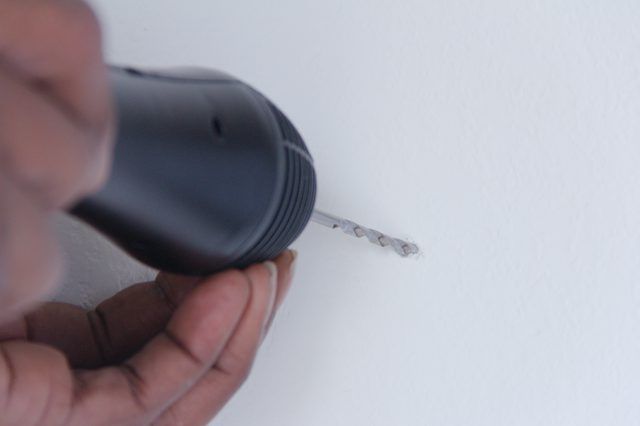
Drill one hole in the corner of the room. Screw a hook into the drilled hole. Place the slit located on the top corner point of the triangular shaped hammock on the hook. Lift one of the other corners to the desired level and put a dot on the wall to indicate the location of the next hook.

Step 5
Drill a hole on that dot and place the second hook. Repeat this step with the final hook in the corner of the adjacent wall. Hang the remaining two slits of the hammock on the hooks.
